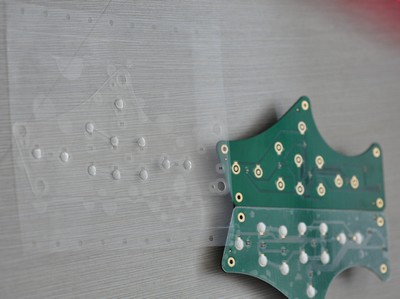
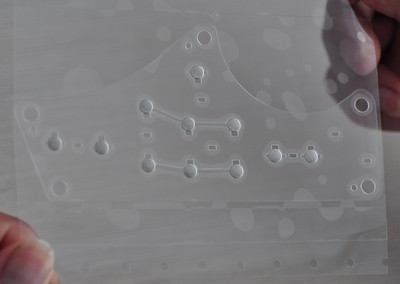
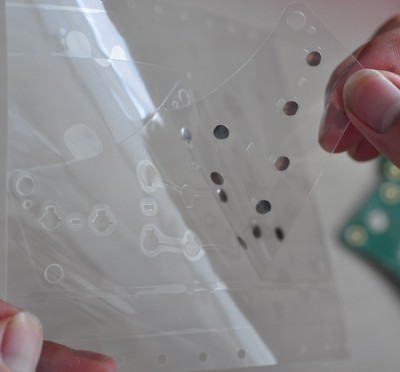
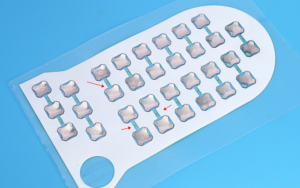
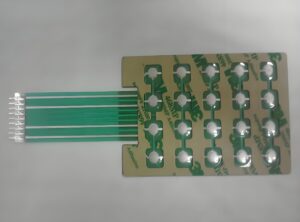
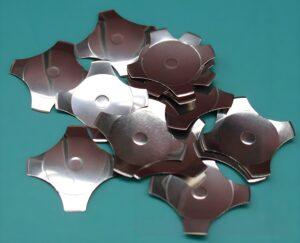
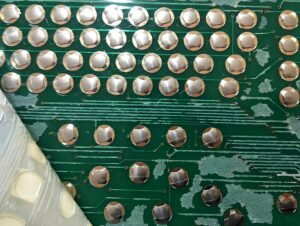
Some people will ask us how to assemble metal dome array on PCB, and today I’d like to share some basic information for that. It’s a very simple to assemble our metal dome array on PCB, and here are some basic steps:
1) Clear the PCB, make sure there’s no dirt, dust, or any other contamination;
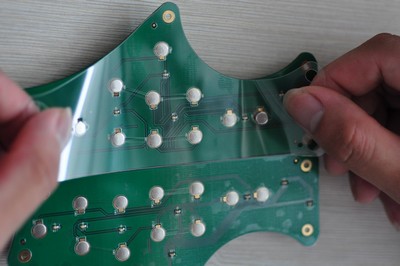
2) Peel off metal dome array from the release paper;
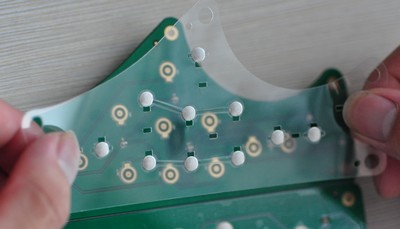
3) Find a good way for alignment of dome array and PCB, normally by location holes, outline edge, silkscreen/legend printed on PCB;
4) Put dome array on PCB by handle, or machine (using a vacuum nozzle)
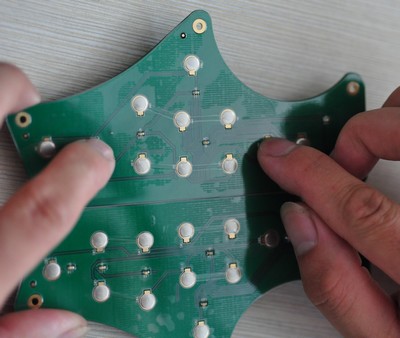
5) Press surface of dome array to make sure it adhere on PCB firmly
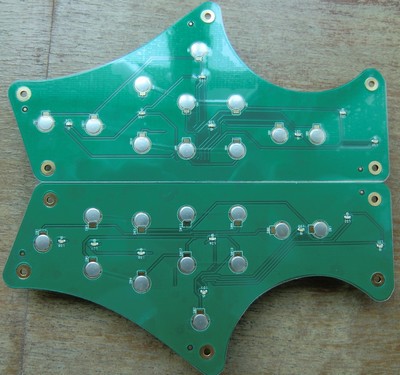
6) Finished the assembly
Please to be noted that the self-adhesive on metal dome array has a small initial bonding force, so that you can peel off it from the PCB easily after assembly if you want to adjust location of dome array.
But this will also cause a potential problem: Customers will find dome array does not stick to PCB so firmly and then they will be a little worry.
In fact, there’s another special characteristics for that glue: the bonding force will become more and more stronger after about 24 hours, without any movement, pressure, etc. It means if after 24 hours, you cannot peel off dome array from the PCB, without damage the dome array, because the peel strength at that time will be extreme big comparing to initial value.
Let’s know if has more questions for metal dome array assembly on PCB.


